Gewerbe in Groß-Bieberau: Warum unsere Stadt nur mit starken Betrieben stark bleibt
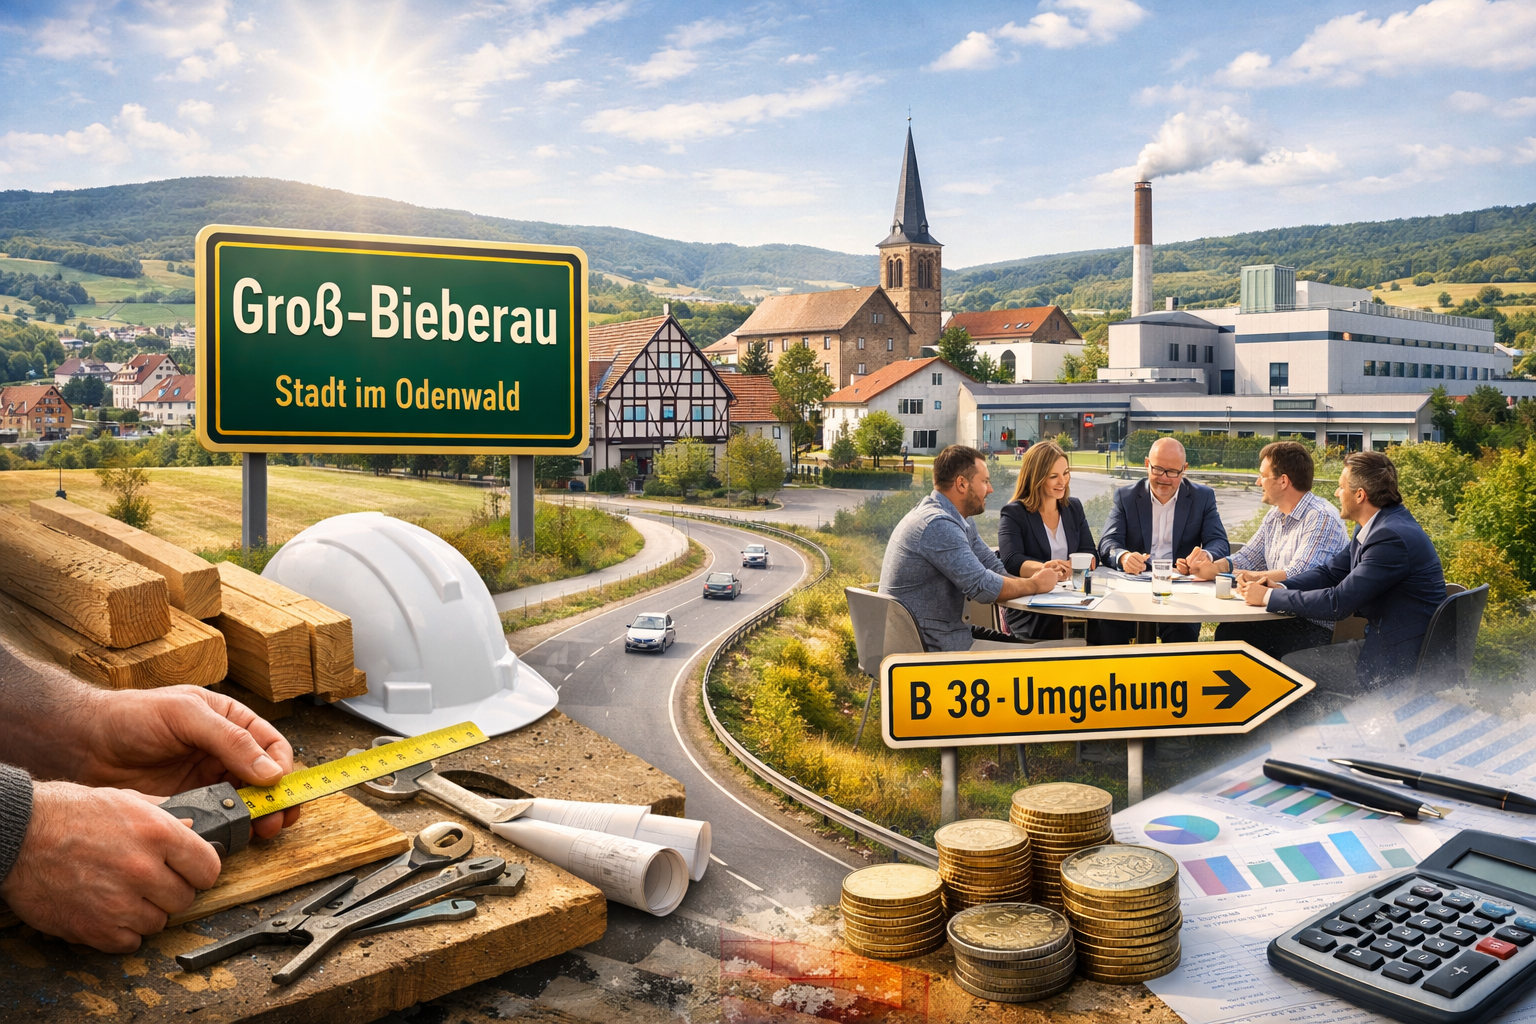
Groß-Bieberau lebt nicht von Konzeptpapieren.
Groß-Bieberau lebt von Menschen, die hier Betriebe führen, ausbilden, investieren und Verantwortung übernehmen. – Daher ist die Zusammenarbeit von Gewerbe, Verhaltung und Politik für unsere Stadt so wichtig.
Ohne Daten keine Energiewende. Punkt.
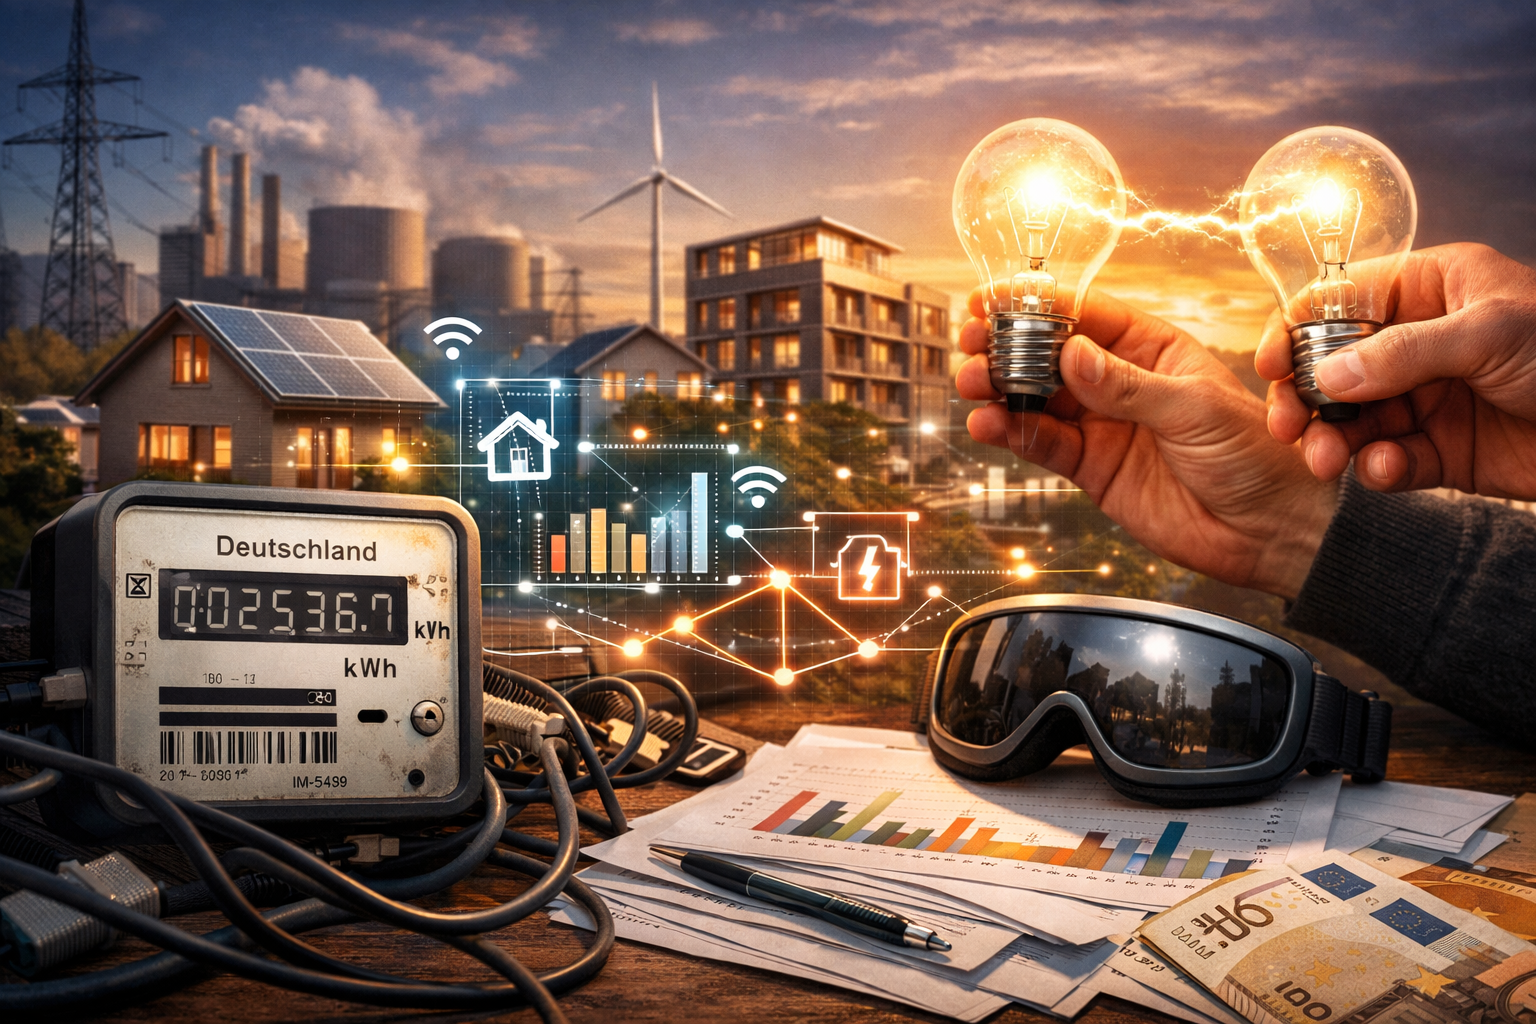
Manchmal fragt man sich ja, ob wir in Deutschland eigentlich wirklich eine Energiewende wollen – oder ob wir einfach sehr gerne darüber reden. Am besten in Arbeitskreisen. Mit Flipcharts. Ohne Ergebnis.
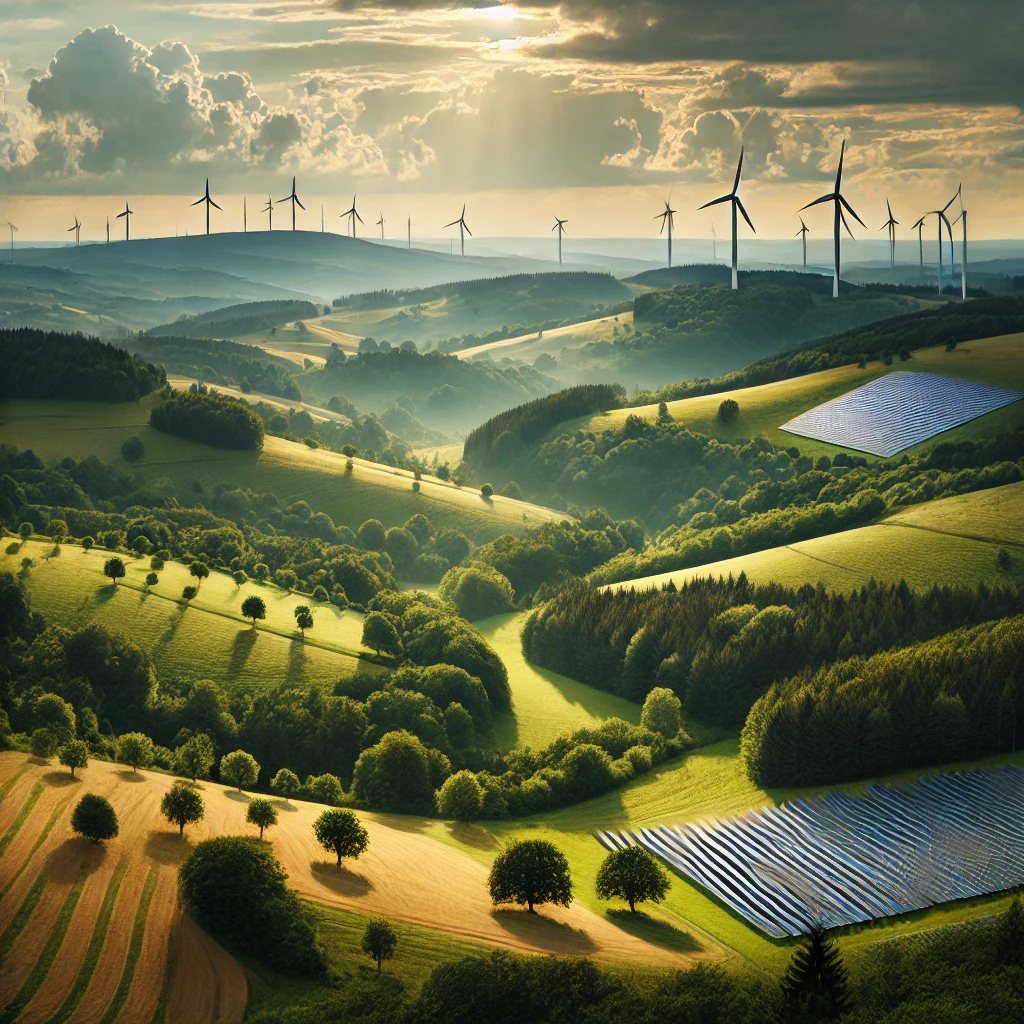
Unsere Region im Wandel: Erfolgreiche Projekte für erneuerbare Energien
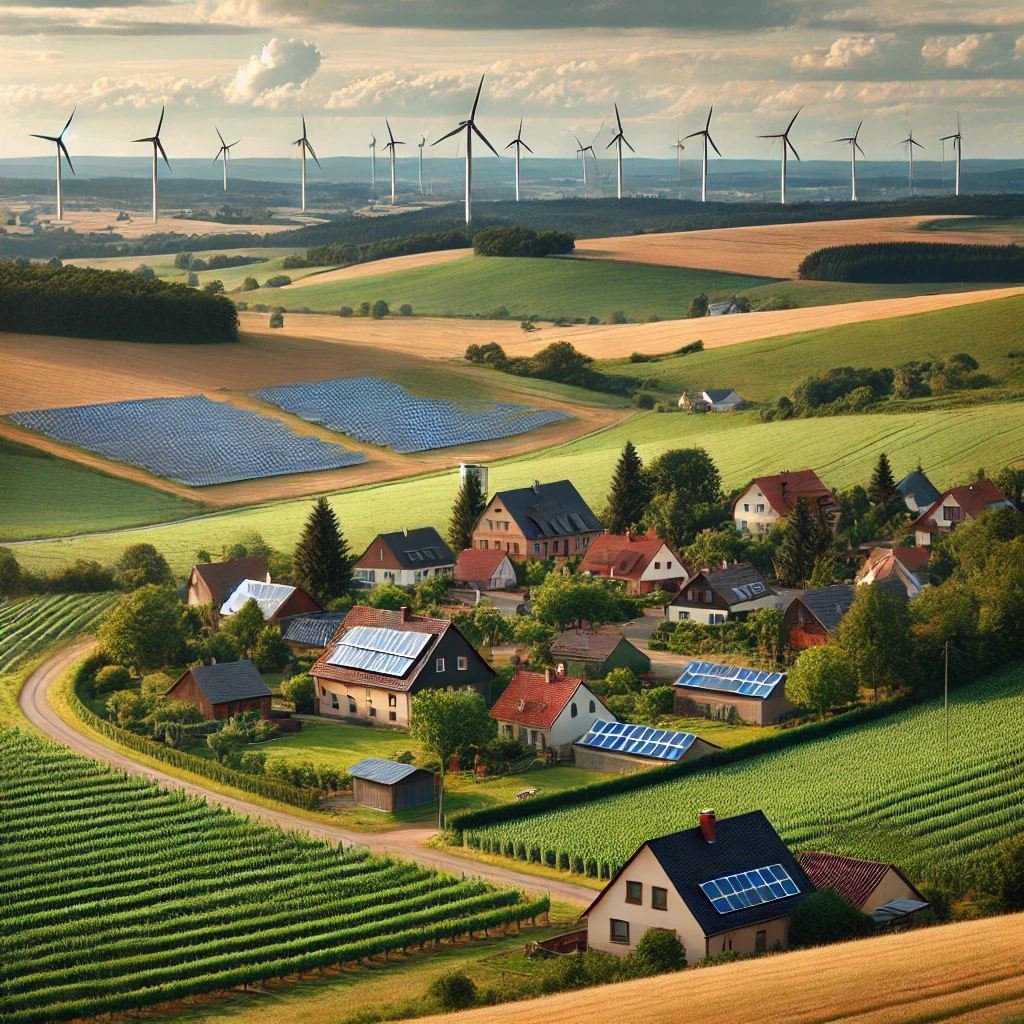
Die Energiewende ist eine der zentralen Herausforderungen unserer Zeit. Viele Regionen haben bereits erkannt, dass erneuerbare Energieprojekte nicht nur ökologisch, sondern auch ökonomisch und sozial wertvoll sein können. Auch bei uns in der Region gibt es zahlreiche Initiativen, die diesen Weg eingeschlagen haben. Von Photovoltaik-Freiflächenanlagen bis hin zu ersten Überlegungen für eine stärkere interkommunale Zusammenarbeit – ich möchte einen Überblick über laufende und geplante Projekte geben, um zu zeigen, wie lokal erzeugte Energie die Zukunft unserer Region sichern kann.
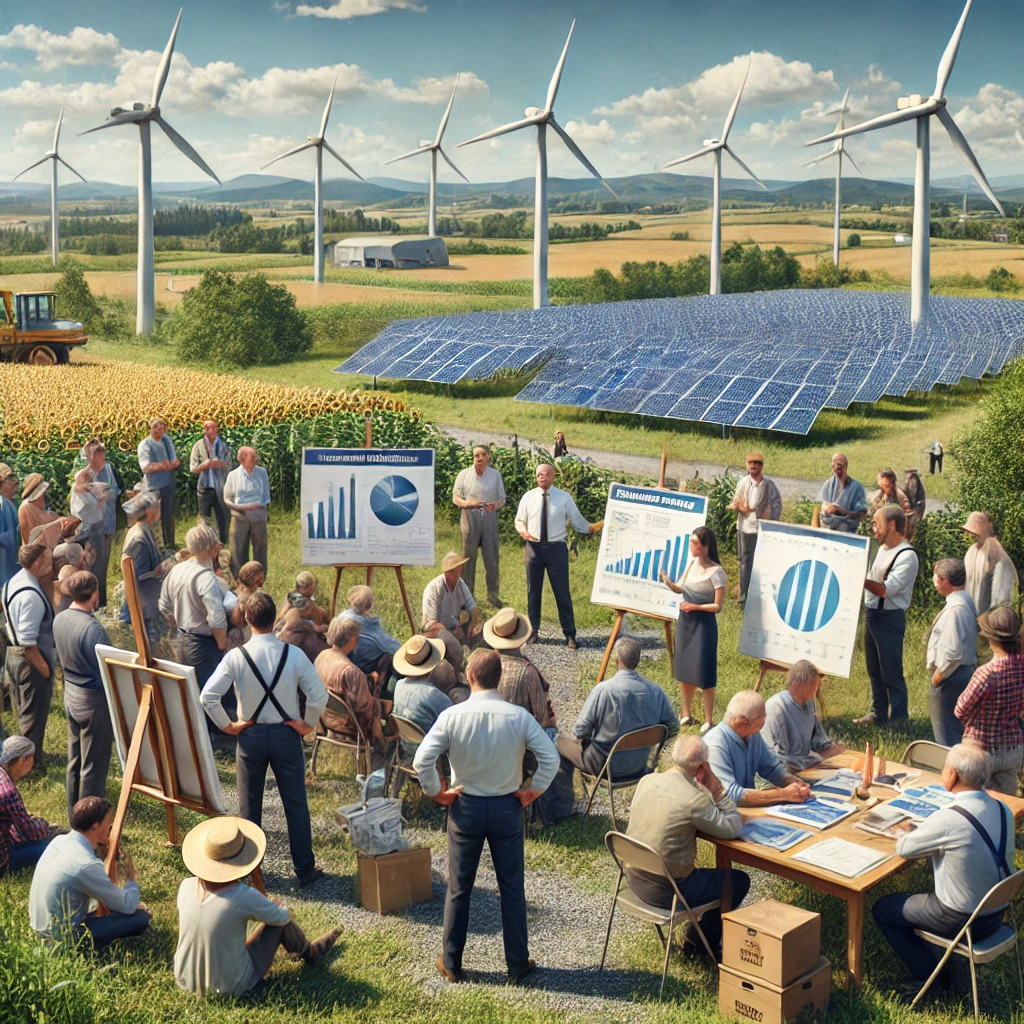
Die Kraft der Gemeinschaft: Warum lokal erzeugte Energie unsere Zukunft sichert
In meinem ersten Beitrag habe ich skizziert, warum erneuerbare Energien für unsere Region von so großer Bedeutung sind. Diesmal möchte ich den Blick auf einen zentralen Aspekt richten: den Bedarf und die Sinnhaftigkeit, Energie lokal zu erzeugen. Es geht darum, nicht nur ökologische, sondern auch ökonomische und soziale Vorteile für unsere Gemeinden zu schaffen – von Groß-Bieberau bis hin zu unseren Nachbargemeinden.
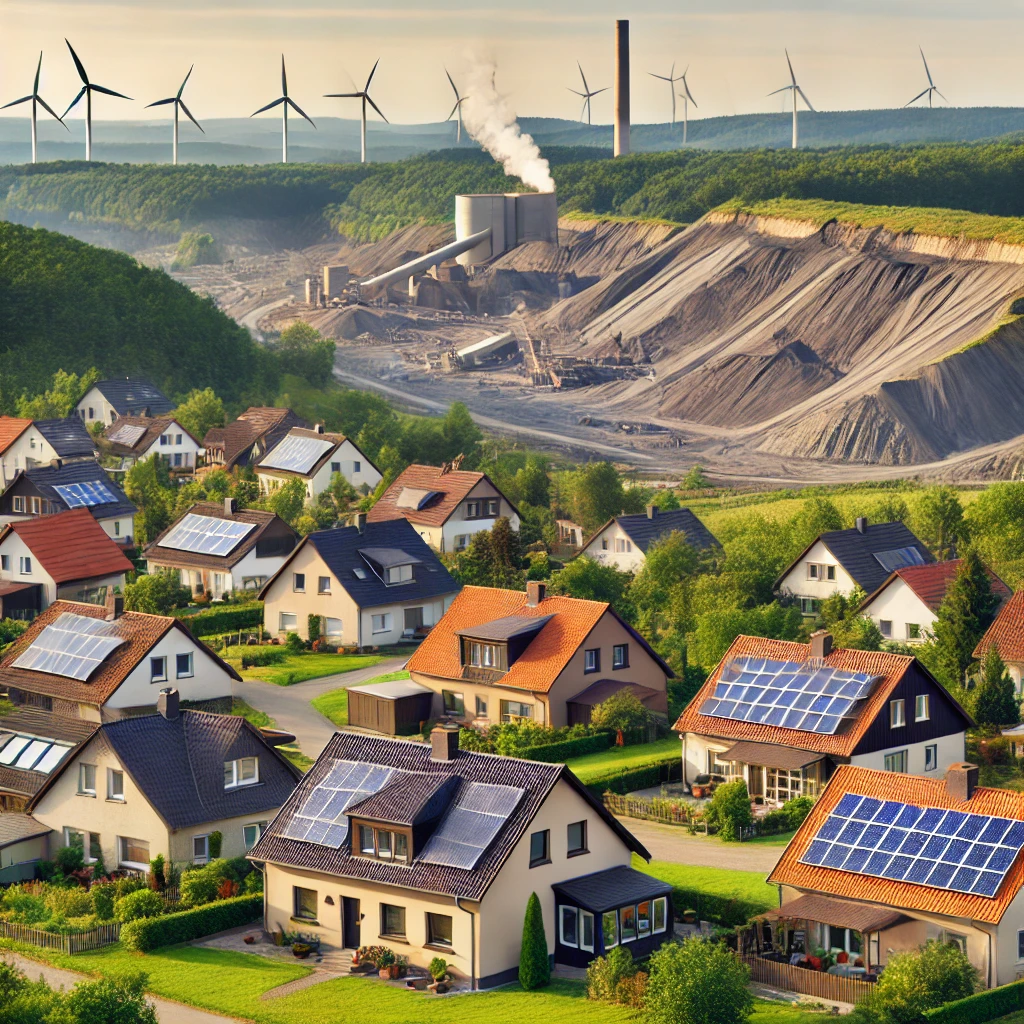
Warum erneuerbare Energien für Groß-Bieberau und die Region von Bedeutung sind
In meinem ersten Beitrag habe ich skizziert, warum erneuerbare Energien für unsere Region von so großer Bedeutung sind. Diesmal möchte ich den Blick auf einen zentralen Aspekt richten: den Bedarf und die Sinnhaftigkeit, Energie lokal zu erzeugen. Es geht darum, nicht nur ökologische, sondern auch ökonomische und soziale Vorteile für unsere Gemeinden zu schaffen – von Groß-Bieberau bis hin zu unseren Nachbargemeinden.
Neue Entwicklungen in der Bürgerenergie: Wind und Solar im Fokus
In Zeiten der Energiewende wird Bürgerenergie immer relevanter. Sie ermöglicht es Bürgerinnen und Bürgern, aktiv an der Produktion von erneuerbarer Energie teilzuhaben und dabei gleichzeitig von den Gewinnen zu profitieren. Bundeswirtschafts- und Klimaschutzminister Robert Habeck hat in einem aktuellen Video die Chancen und neuen Fördermöglichkeiten der Bürgerenergie vorgestellt. Besonders im Bereich der Wind- und Solarenergie gibt es zahlreiche Optionen für private Initiativen. Das Ziel ist, dass die Einnahmen aus der Energieproduktion direkt an die beteiligten Bürger, Landwirte und lokalen Gemeinschaften fließen.
Wie bekomme ich Webseiten Lesezeichen in das Dock meines Mac?

Herausforderung werden. Ich wollte mir die zwei bis drei wichtigsten Webseiten als Shortcut in meinen Dock Bereich legen. Beim Klick darauf sollte sich der Browser mit der entsprechenden Seite öffnen.
iCloud storage full: How to export photos and videos using a Mac and keep date and time?

big I choose my iCloud storage and how much money I give Apple so month after month, one thing is for sure: Sooner or long my iCloud storage is full again. The main reason is loads of photos, live photos and especially the huge amount of videos. Now, you could easily and quickly delete the old media, but that’s usually not the idea. After all, I take most photos and videos for the memories‘ sake.